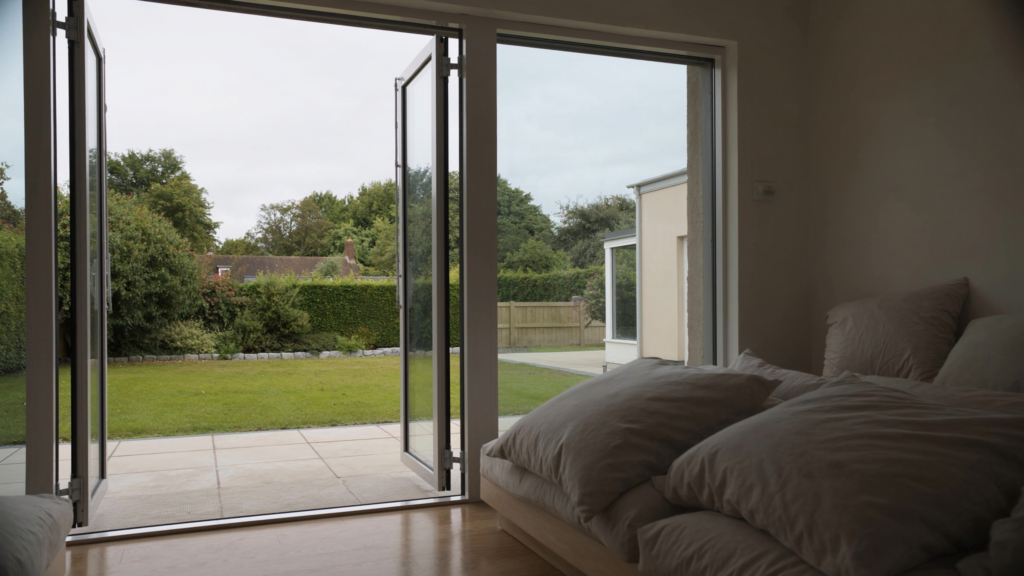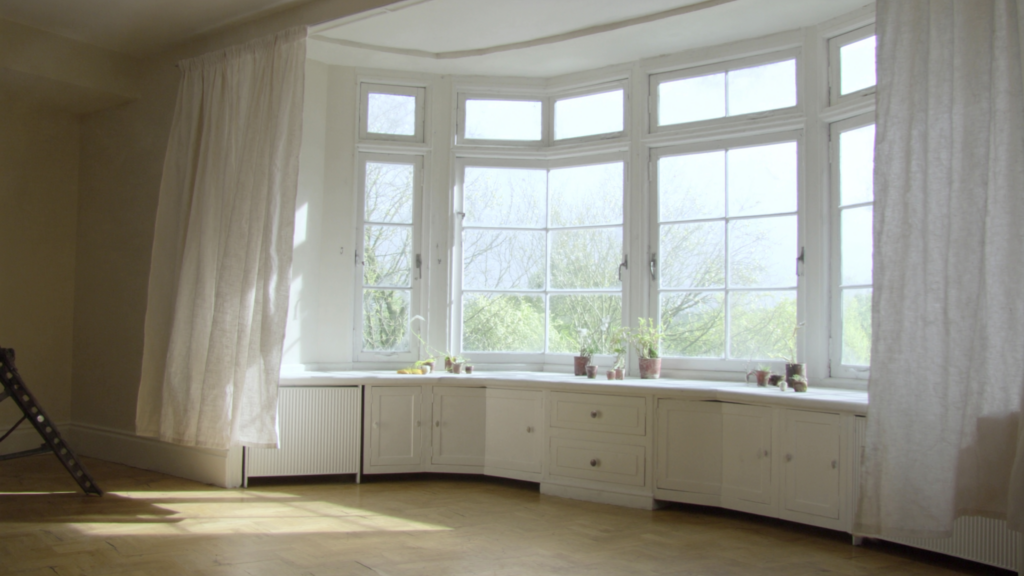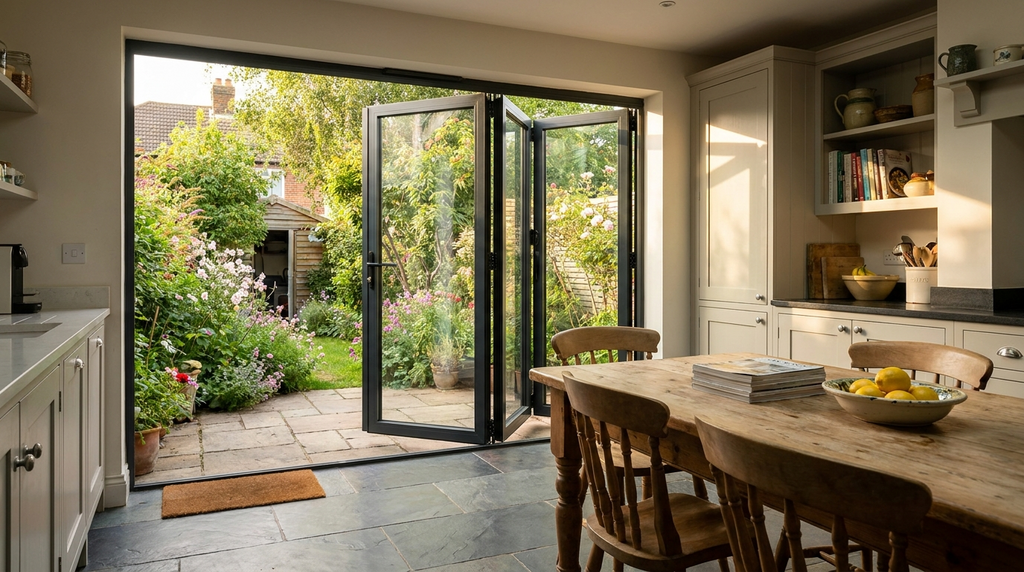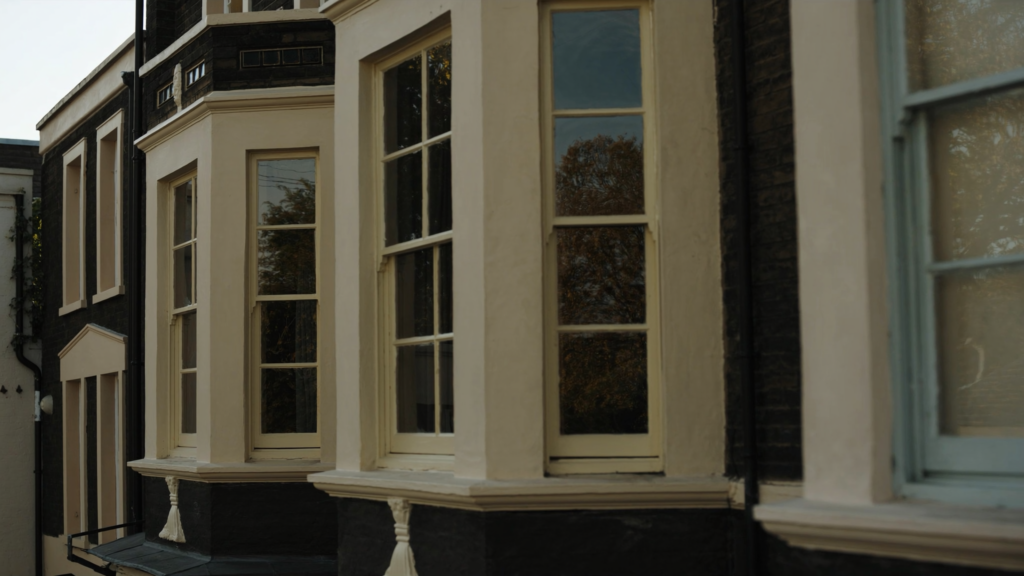
You cannot directly create windows and doors in SketchUp that meet UK building regulations for thermal performance, as SketchUp is a 3D modelling tool, not a building compliance software; however, you can model them to a high visual and dimensional standard by following UK standard window and door sizes, such as those from the British Fenestration Rating Council (GOV.UK, 2026).
The key variable is whether you are modelling for visualisation or for detailed construction drawings. For visualisation, simple push-pull geometry works. For construction-level detail, you must account for UK frame depths (typically 70-90mm for uPVC or timber) and glazing units (24-28mm overall thickness). The answer also depends on whether you are adding custom components or using SketchUp’s built-in tools, neither of which automatically apply UK thermal values.
Use the Rectangle and Push-Pull Tools for Basic Openings
Start by drawing a rectangle on a wall face where you want the window or door. Use the Tape Measure tool to set accurate dimensions, typical UK window widths range from 600mm to 1800mm, and door widths from 762mm to 926mm (ONS, 2026). Select the Push-Pull tool to extrude the shape inward through the wall thickness (usually 250-300mm for cavity walls). This creates a hole. For a door, ensure the opening height is at least 1981mm to meet standard UK door heights. Delete the face inside the hole to finish the rough opening.
Model the Frame and Glazing as Separate Groups
Inside the opening, draw a smaller rectangle offset by the frame thickness (say 70mm on each side). Extrude this to the wall thickness to create the frame. Group this geometry to keep it separate. For glazing, draw another rectangle inside the frame recess, offset by 5mm for a gasket gap, and extrude it to 24mm (typical UK double-glazing unit thickness) (Energy Saving Trust, 2026). Apply a transparent material to the glazing face. For doors, model a solid panel or glass insert within the frame group. This ensures the door leaf thickness is around 44mm for UK interior doors.
Use Components for Reusable UK Standard Sizes
Create a component of your finished window or door, right-click and select Make Component. This lets you reuse the same model across multiple walls. For UK compliance, set the component dimensions to match standard sizes from the British Fenestration Rating Council (MCS Certified, 2026). You can also download pre-made UK window and door components from SketchUp’s 3D Warehouse, but verify their dimensions match UK standards. Always check that the component’s origin point aligns with the wall face for easy placement.
A worked example
A typical UK homeowner modelling a 1930s semi-detached house in SketchUp can expect to spend roughly 4 to 8 hours creating a complete set of window and door models for visualisation purposes. For a realistic scenario, consider a 1.2m wide by 1.0m high casement window on the ground floor. Using the Rectangle tool, draw the opening at 1200mm by 1000mm on the wall face. Apply Push-Pull to cut through a 275mm cavity wall. Then model the frame as a separate group with a 75mm depth and a 24mm double-glazing unit inside. The same approach works for a standard 838mm by 1981mm external door. The Energy Saving Trust notes that accurate modelling of frame depth and glazing thickness is essential for later thermal analysis, but SketchUp itself does not assign U-values, you would export the model to a dedicated compliance tool for that step.Glazing is standard-rated for VAT at 20%. The zero rate for energy-saving materials covers insulation, heat pumps and solar panels; HMRC names secondary and double glazing as excluded (VAT Notice 708/6).
| Item | Figure |
|---|---|
| Time to model one window | 30-45 minutes |
| Time to model one external door | 45-60 minutes |
| Typical UK window width range | 600mm to 1800mm |
| Typical UK door width range | 762mm to 926mm |
What homeowners often get wrong
The most common mistake is assuming SketchUp can directly produce building-regulation-compliant window and door designs without exporting to dedicated thermal software. This misunderstanding leads to models that look correct but fail on U-values and air permeability. Here are three frequent errors to avoid.
- Ignoring frame depth and material Many users model the frame as a simple outline without accounting for real UK frame depths of 70-90mm for uPVC or timber. The result is a model that cannot be used for accurate thermal calculations, wasting hours of work if you later need to redo it for a retrofit assessment.
- Using default component libraries without checking sizes SketchUp’s built-in window components often follow American or generic dimensions, not UK standard sizes like 600mm, 900mm, or 1200mm widths. This creates openings that clash with real brickwork courses and cavity wall ties, requiring manual scaling that introduces measurement errors.
- Forgetting to group and layer components properly Beginners often draw windows and doors directly on the wall face without making them separate groups or components. This prevents easy editing and makes it impossible to hide or isolate elements for construction drawings, leading to a disorganised model that is difficult to share with builders or architects.
Quick reference
- Use the Rectangle tool at 1200mm by 1000mm for a standard UK casement window opening.
- Model frames as separate groups with a depth of 70-90mm to match uPVC or timber profiles.
- Glazing units in SketchUp should be 24-28mm thick for realistic double-glazing representation.
- Export your model to a thermal compliance tool if you need U-values or SAP calculations later.
- Always check UK standard door widths of 762mm, 838mm, or 926mm before modelling external doors.
Frequently Asked Questions
No. SketchUp does not apply thermal values automatically. You must model to UK standard sizes and consult BFRC data for compliance.
Typical widths range from 600mm to 1800mm. Use ONS data or BFRC guidelines for accurate dimensions.
Draw a rectangle on the wall, set height to at least 1981mm, and push-pull inward through the wall thickness.