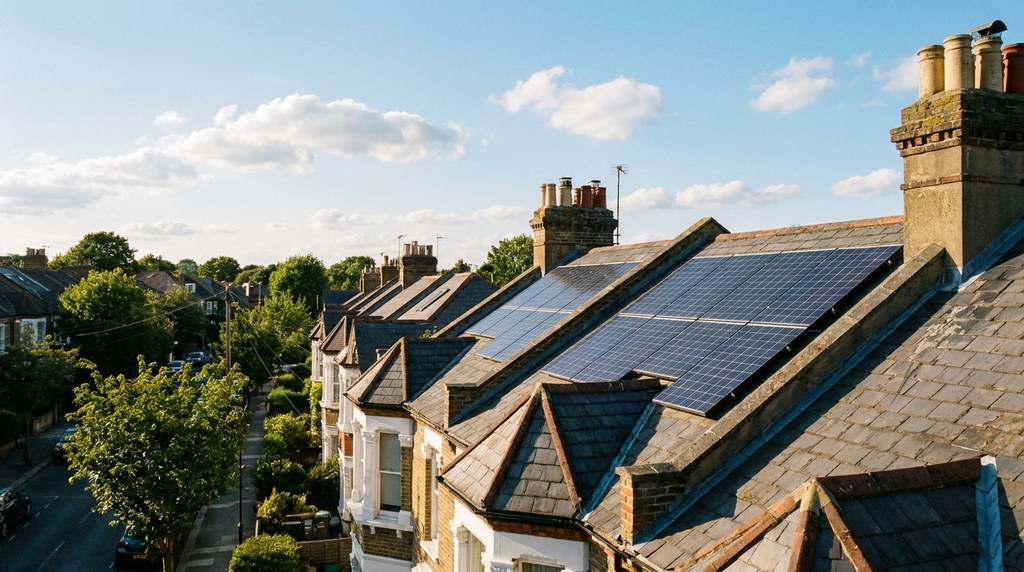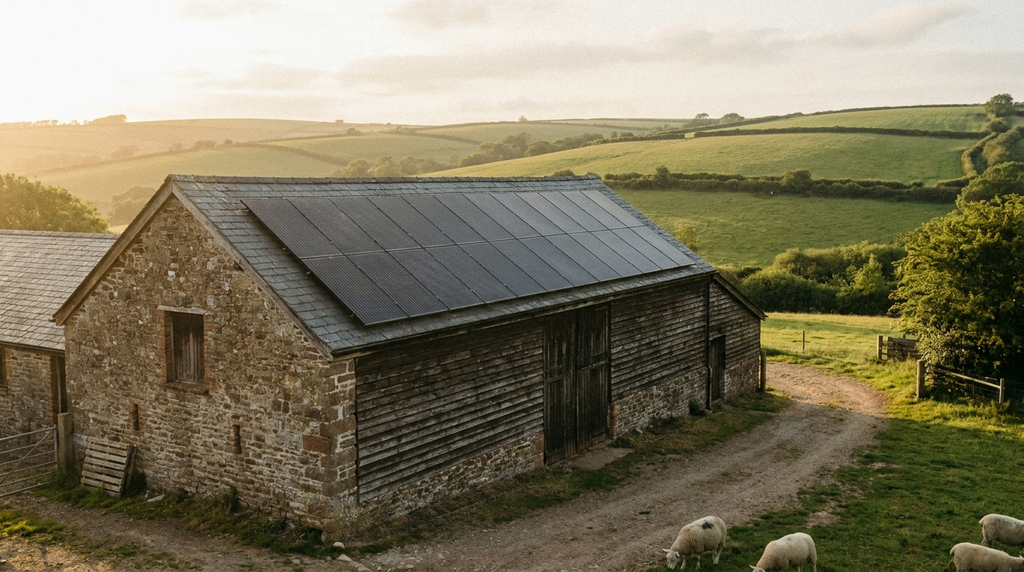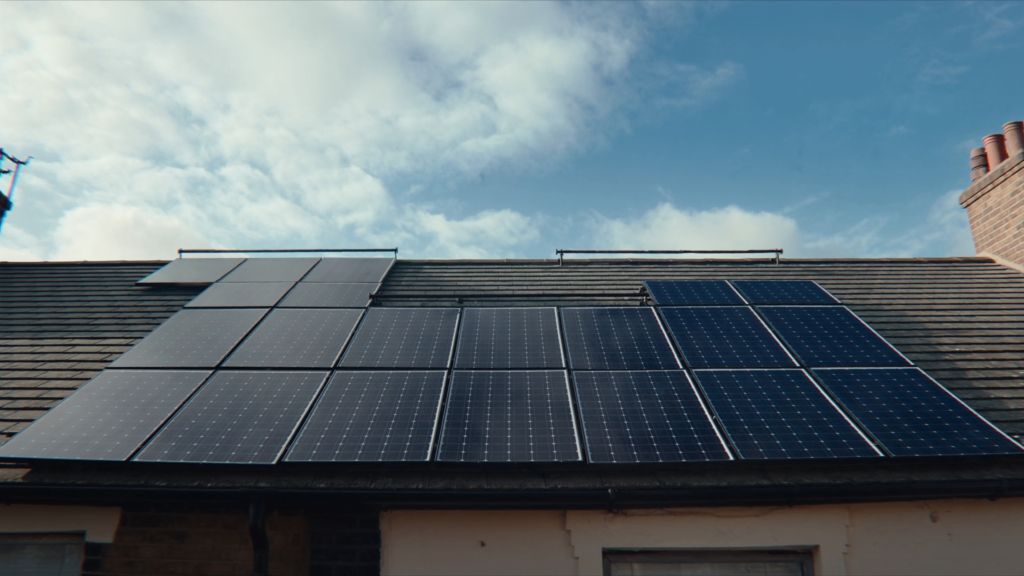
Solar panels are installed on a roof by first mounting a racking system, then securing the panels to it, and finally connecting the inverter and electrical wiring to your home’s consumer unit. The Energy Saving Trust states that a typical 3kWp system requires around 10–15 square metres of roof space and takes one to two days to install (Energy Saving Trust, 2026).
The installation method depends on your roof type. Slate, tile, flat, and metal roofs each need different mounting brackets and sealing techniques. For most pitched roofs, installers attach roof hooks under the tiles, then run aluminium rails across them. Panels clip onto these rails. A structural survey is not always required, but a qualified installer from the Microgeneration Certification Scheme (MCS) must assess your roof’s load-bearing capacity before work begins (MCS, 2026).
Roof hooks and rails are fitted first
The installer starts by marking the rafter positions under the tiles. They lift the tiles or slates, drill pilot holes into the rafters, and bolt stainless steel roof hooks into place. These hooks sit flush under the tiles and are sealed with lead flashing to prevent leaks. Aluminium mounting rails are then bolted onto the hooks horizontally. The rails are levelled and spaced to match the panel dimensions. TrustMark-registered installers follow strict guidelines to ensure the roof structure remains watertight (TrustMark, 2026).
Panels are clamped and wired on the roof
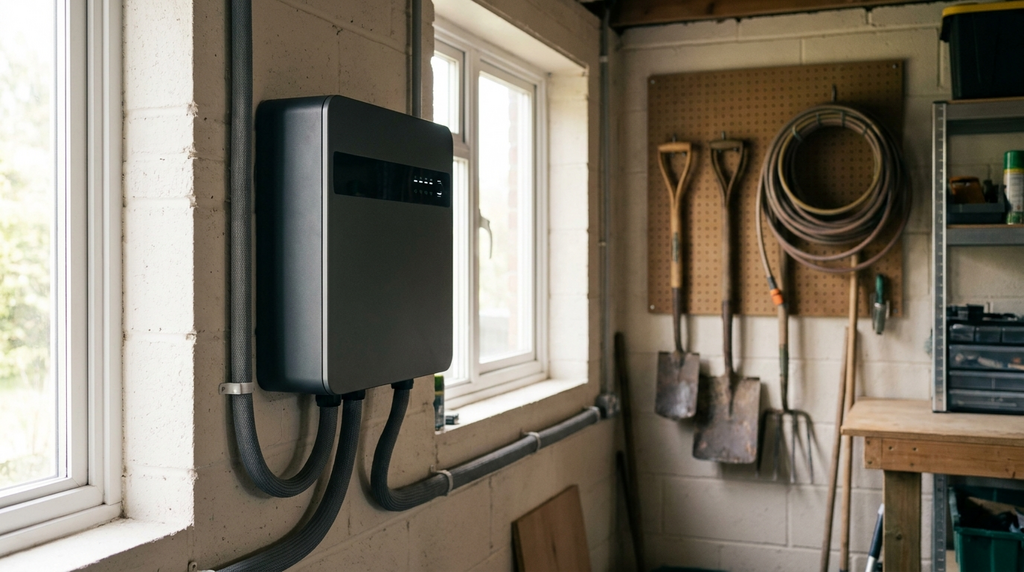
Each solar panel is lifted onto the roof and placed onto the rails. Mid-clamps and end-clamps secure the panels to the rails, typically using stainless steel bolts tightened to a specific torque. Panels are wired in series using MC4 connectors to form a string. The DC cables are run under the tiles and down through a weatherproof cable entry point into the loft. The installer checks the voltage and polarity with a multimeter before connecting to the inverter. The inverter is usually mounted inside the loft or garage, close to the consumer unit (Energy Saving Trust, 2026).
Final connection and testing complete the job
The inverter is connected to a dedicated circuit breaker in the consumer unit. A generation meter records total kWh output. The installer isolates the system, tests insulation resistance, and verifies the earth bonding. A certificate of compliance is issued, and the installation is registered with your Distribution Network Operator (DNO) if the system exceeds 3.68kW. The MCS certificate is required to claim the Smart Export Guarantee (SEG) tariff, which pays around 5.5p per kWh exported (Ofgem, 2026).
A worked example
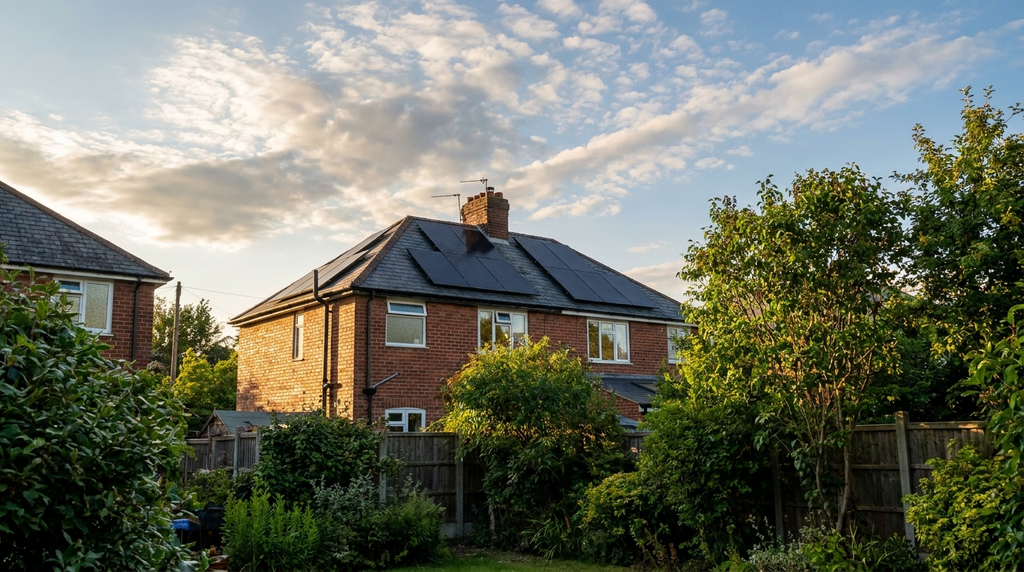
A typical 3-bedroom semi-detached home in Manchester with a south-facing pitched roof can install a 3.6kWp solar panel system for roughly £5,500 after the 0% VAT saving (in place until March 2027). The Energy Saving Trust estimates this system will generate around 3,000 kWh per year, cutting your electricity bill by approximately £540 annually based on current UK energy prices. If you are eligible for the ECO4 scheme or a local authority grant, the upfront cost could drop further. Over 25 years, the total savings, including the Smart Export Guarantee payments for electricity sent back to the grid, could reach £13,500. The payback period on this investment is typically between 8 and 10 years, meaning the system pays for itself well within its 25-year warranty lifespan. An MCS-certified installer will complete the job in one to two days with minimal disruption.
| Item | Figure |
|---|---|
| Upfront cost after grants | £5,500 |
| Yearly savings | £540 |
| Payback period | 9 years |
| 25-year lifetime savings | £13,500 |
What homeowners often get wrong
The most common mistake is assuming any roofer can handle the electrical connection safely. This misunderstanding can lead to voided warranties, failed inspections, or even dangerous wiring. Here are three specific pitfalls to avoid.
- Believing all roof types need the same mounting kit A slate or clay tile roof requires different brackets and lead flashing compared to a standard concrete tile roof. Using the wrong fixings can cause leaks and void your roof warranty, costing up to £2,000 in repairs.
- Thinking the inverter can go anywhere in the loft Inverters generate heat and need ventilation. Installing one in a cramped, unventilated loft space can cause it to overheat and fail within two years, adding a £1,000 replacement cost you could have avoided.
- Forgetting to check for ECO4 or BUS grant eligibility Many homeowners pay full price when they could qualify for a free or heavily subsidised installation. Missing this step means losing out on up to £7,500 from the Boiler Upgrade Scheme or a full grant under ECO4.
Quick reference
- A standard 3.6kWp solar panel system on a UK semi-detached home costs roughly £5,500 after 0% VAT and pays back in under 10 years.
- Installation takes one to two days for a pitched roof, with the racking system fitted under existing tiles to prevent leaks.
- You must use an MCS-certified installer to qualify for the Smart Export Guarantee and to keep your roof warranty valid.
- The Energy Saving Trust reports that a well-sited system can cut electricity bills by up to 50% each year.
- Do not assume your roof needs a structural survey every time, most modern homes pass a load-bearing check without one, but the installer must still assess it.
Frequently Asked Questions
A typical 3kWp system takes one to two days to install, according to the Energy Saving Trust. Larger systems may require additional time.
Most roof-mounted solar panels are permitted development, but check with your local council. The Energy Saving Trust advises that listed buildings or conservation areas may need permission.
Installers first attach roof hooks under tiles, then mount aluminium rails and clamp panels onto them. Finally, they connect the inverter and wiring to your consumer unit.