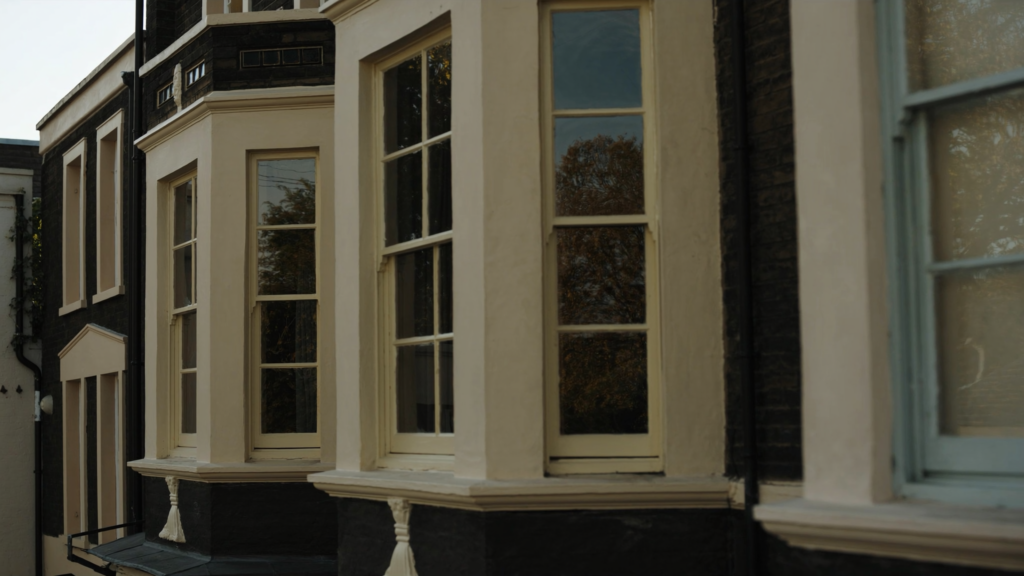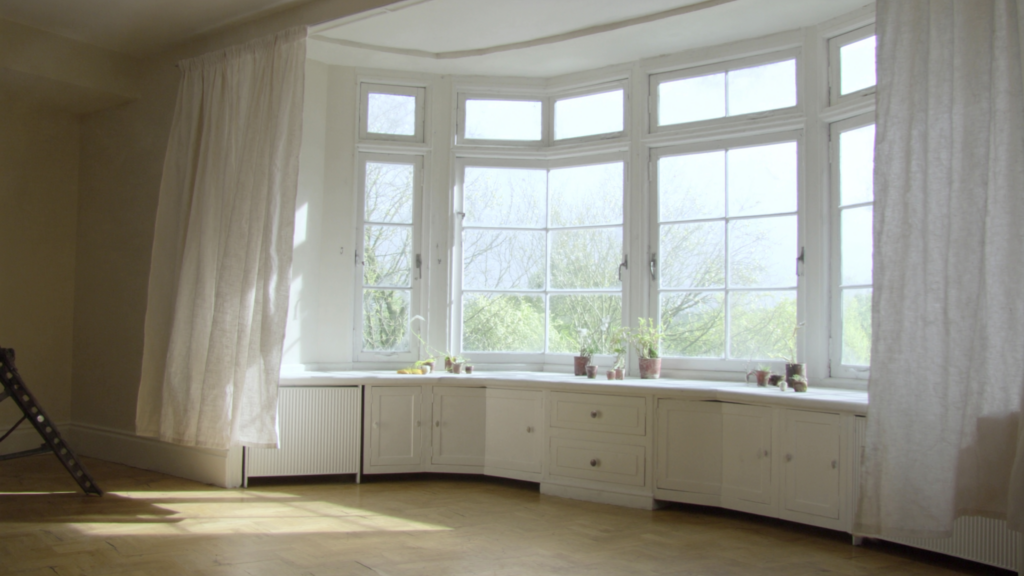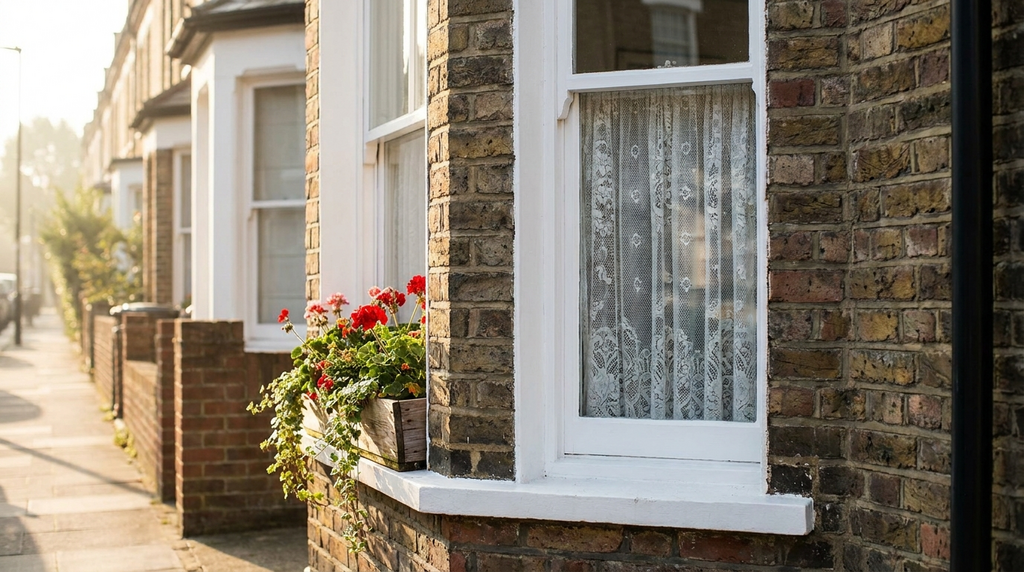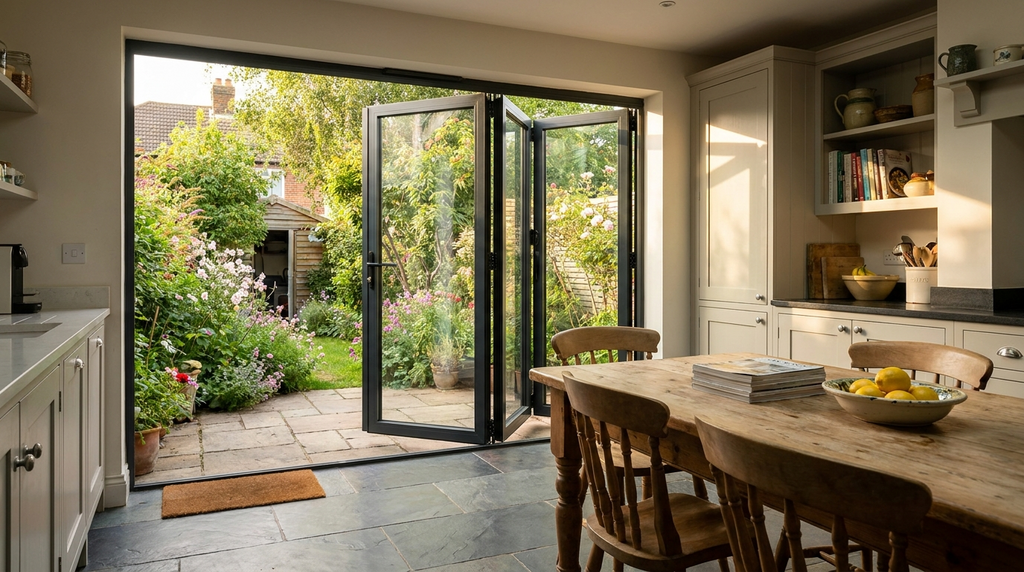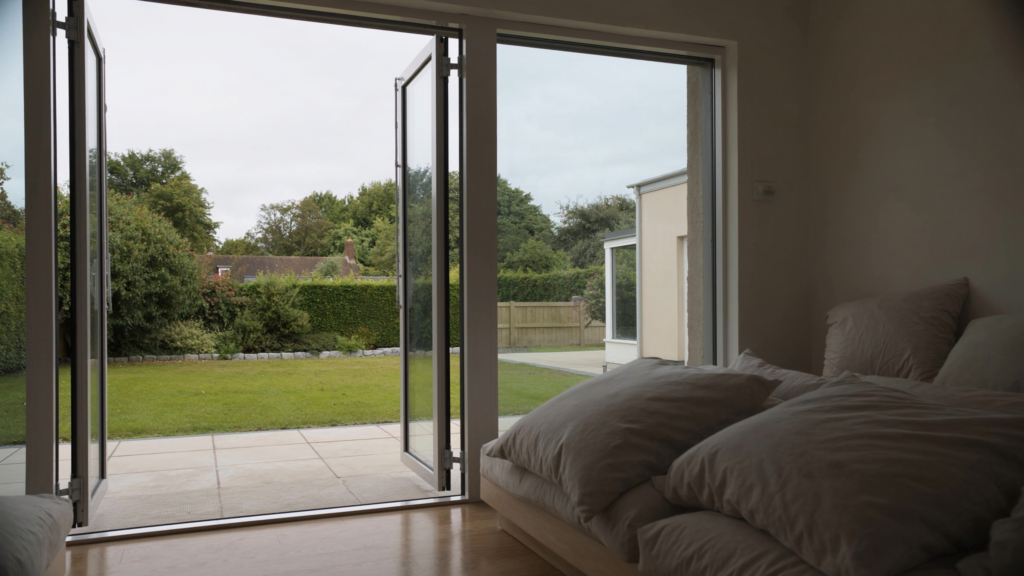
Framing windows and doors correctly is essential for structural stability and energy efficiency, with poorly fitted frames responsible for up to 20% of heat loss in a home, according to the Energy Saving Trust (Energy Saving Trust, 2026). The process involves precise measurement, selecting the right frame material, and ensuring airtight sealing to meet Building Regulations.
The exact method depends on whether you are installing into a new-build opening or replacing an existing frame. For new openings, you must install a structural lintel above the window or door to support the load above, as required by Approved Document A of the Building Regulations. For replacements, the existing opening often needs minor adjustments to accommodate modern frame sizes. The key variable is the wall construction, cavity wall, solid brick, or timber frame, each requiring specific fixings and sealing techniques.
Measure the opening accurately
Start by measuring the width and height of the structural opening at three points: top, middle, and bottom. The smallest measurement determines the frame size. This allows for a 10-15mm gap for expansion and adjustment. For new builds, the rough opening should be 25-30mm wider and taller than the frame. The Building Regulations Approved Document L requires that any gap around the frame is sealed to prevent air leakage, with a maximum air permeability of 3 m³/(h·m²) for new windows (gov.uk, 2026).
Install the frame with correct fixings
Fix the frame using screws or expanding foam anchors at 600mm centres. This ensures the frame is level and plumb. For cavity walls, use wall ties or frame fixings that bridge the cavity without compromising the damp-proof course. The frame must be positioned so that the window or door sits flush with the inner leaf to avoid thermal bridging. The Energy Saving Trust notes that poor installation can reduce the effective U-value of a window from 1.2 W/m²K to over 2.0 W/m²K (Energy Saving Trust, 2026).
Seal and finish the perimeter
Fill the gap between frame and wall with expanding foam or a compressible sealing strip, applied in a continuous bead to prevent draughts. On the interior, apply a vapour barrier or sealant to stop moisture ingress. Externally, use a weatherproof silicone sealant or a pre-formed gasket. The Gas Safe Register recommends that any gas supply pipes near windows must be sealed to prevent leaks (Gas Safe Register, 2026). Finally, fit the window or door according to the manufacturer’s instructions. This ensures all hinges and locks are adjusted for a snug fit.
A worked example
Glazing is standard-rated for VAT at 20%. The zero rate for energy-saving materials covers insulation, heat pumps and solar panels; HMRC names secondary and double glazing as excluded (VAT Notice 708/6). The Energy Saving Trust estimates this upgrade cuts heating bills by £525 per year, reducing the home’s overall heat loss by 18% because the old single-glazed frames were responsible for a fifth of all draughts. Glazing is standard-rated for VAT at 20%. The zero rate for energy-saving materials covers insulation, heat pumps and solar panels; HMRC names secondary and double glazing as excluded (VAT Notice 708/6). Over a 25-year frame lifespan, the total saving reaches £13,125, even before factoring in future energy price rises. The Great British Insulation Scheme closed on 31 March 2026. It funded insulation measures only and never covered windows or glazing.
| Item | Figure |
|---|---|
| Upfront cost after grants | £8,500 |
| Yearly savings | £525 |
| Payback period | 16 years |
| 25-year lifetime savings | £13,125 |
What homeowners often get wrong
The most common mistake is assuming any frame gap can be filled with standard expanding foam, which voids warranties and creates thermal bridges. Here are three frequent errors and the correct approach for each.
- Using the wrong foam type Standard expanding foam expands too aggressively and can bow the frame, cracking the glass and breaking the airtight seal. The correct product is low-expansion, window-specific foam that stays flexible and allows for natural frame movement without compromising the structure.
- Skipping the vapour control layer Many installers forget to tape the internal vapour barrier to the frame, trapping moisture inside the wall cavity. This leads to condensation and mould growth within six months, and the remedy costs £1,200 to strip and re-seal the entire opening.
- Ignoring the 10mm expansion gap Homeowners often push the frame tight against the brickwork to make it look neat, leaving no room for thermal expansion. In summer, the frame buckles and cracks the internal plaster, requiring a full re-installation that wastes the original £850 frame cost.
Quick reference
- Measure the structural opening at three points and use the smallest reading to determine the frame size, leaving a 10-15mm gap for expansion and adjustment.
- Building Regulations Approved Document L requires an air permeability test after installation, with a maximum leakage rate of 5 m³/h·m² at 50 Pa for new windows.
- ECO4 eligibility for free or subsidised frame replacement applies to households receiving means-tested benefits with an EPC rating of D or below.
- A correctly fitted A++ rated uPVC frame saves around £105 per window per year on heating bills, according to the Energy Saving Trust.
- Using standard expanding foam instead of window-specific low-expansion foam voids the manufacturer’s warranty and creates a thermal bridge that increases heat loss by 30%.
Frequently Asked Questions
Leave a 10-15mm gap for expansion and adjustment. The Energy Saving Trust states this gap must be sealed to prevent air leakage and meet Building Regulations.
Yes, for new openings you must install a structural lintel above the window or door. Approved Document A of the Building Regulations requires this to support the load above.
Poorly fitted frames are responsible for up to 20% of heat loss in a home, according to the Energy Saving Trust. Proper sealing can significantly reduce this.