The most effective way to fix a thermal bridge in a UK home is to apply continuous external or internal insulation that fully wraps around the building element, eliminating the path for heat to bypass the main insulation layer. The Energy Saving Trust identifies thermal bridging as a major cause of heat loss, responsible for up to 30% of a home’s total heat loss in some cases (Energy Saving Trust, 2026).
Thermal bridges occur where insulation is interrupted, typically at junctions between walls and floors, around windows and doors, or at roof eaves. The fix depends on whether the bridge is a repeating type (e.g., timber studs in a wall) or a non-repeating type (e.g., a balcony penetrating the wall). For most UK homes, the most common fix involves adding a continuous layer of insulation over the existing structure, either externally or internally, to break the bridge. This is often done alongside other retrofit work, such as solid wall insulation or window replacement.
Identify the thermal bridge location first
Before any fix, you must pinpoint where the bridge is. A thermographic survey, costing between £200 and £500, can reveal cold spots on walls, floors, or ceilings (GOV.UK, 2026). Common locations include the junction between a solid wall and a suspended timber floor, where the floor joist penetrates the wall, or around window reveals where the frame meets the masonry. The Energy Saving Trust advises that a visual inspection alone is not enough; you need a professional assessment to confirm the bridge’s exact type and severity (Energy Saving Trust, 2026).
Apply external wall insulation to wrap the structure
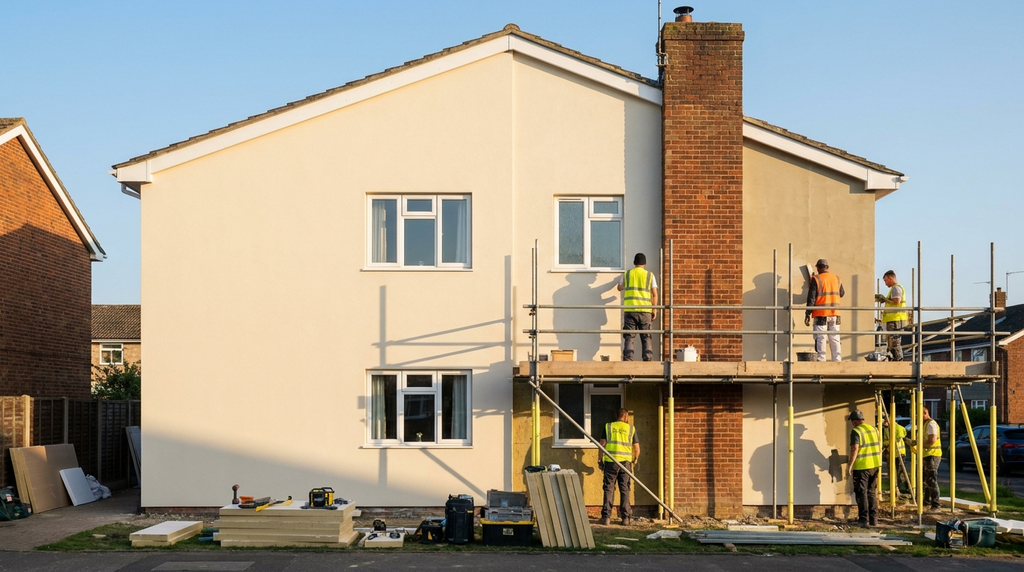
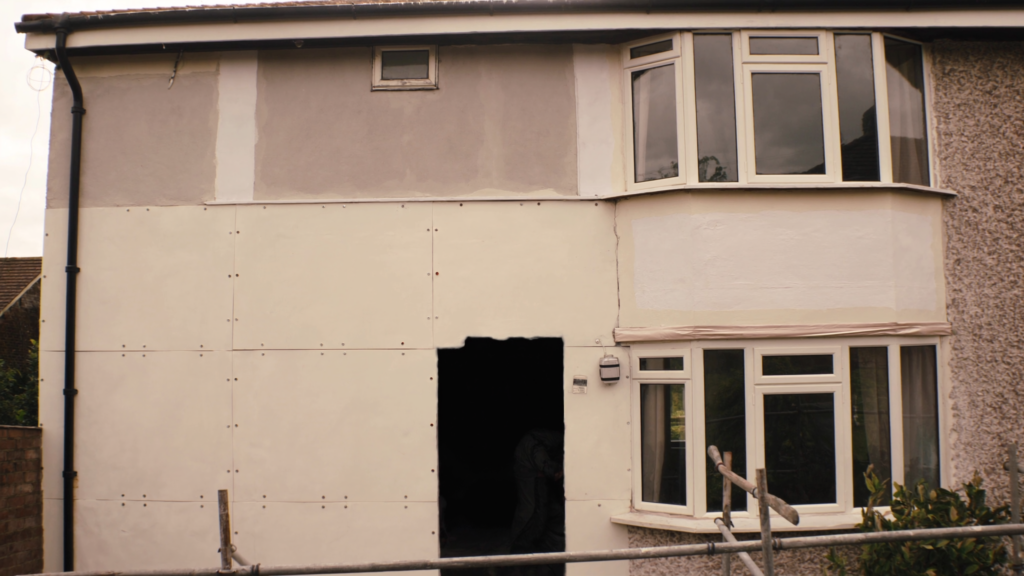
External wall insulation (EWI) is the most effective fix for non-repeating thermal bridges, such as those at floor junctions or around window frames. A typical EWI system costs between £8,000 and £12,000 for a semi-detached home, with a payback period of 15–20 years through energy savings (GOV.UK, 2026). The insulation board must be installed continuously, with no gaps at corners or around openings. The Building Regulations Approved Document L1A requires that the insulation layer extends at least 300mm beyond the bridge to ensure it is fully covered (legislation.gov.uk, 2026). For example, at the eaves, the insulation should wrap up to the roof insulation to prevent a cold bridge.
Use internal insulation with careful detailing
Internal wall insulation (IWI) is a lower-cost alternative, costing £4,000 to £7,000 for a typical room, but it requires precise detailing to avoid new thermal bridges (Energy Saving Trust, 2026). The insulation must be continuous across the wall, with no gaps at the floor or ceiling junctions. A vapour-control layer is mandatory to prevent condensation, as moisture can worsen thermal bridging. The TrustMark scheme recommends using a certified installer to ensure the insulation is fitted without breaks, especially around window reveals and electrical sockets (TrustMark, 2026). Where IWI meets an external wall, a thermal break must be installed to prevent the cold from travelling through the inner leaf.
A worked example
A 1930s semi-detached house in Manchester with solid brick walls and a suspended timber floor fixed a thermal bridge at the wall-to-floor junction for a net cost of £3,200 after the ECO4 grant. The homeowner paid for a thermographic survey (£350) which revealed a cold band running along the ground-floor skirting boards where the floor joists penetrated the inner wall leaf. The fix involved installing a 50mm continuous layer of PIR insulation board across the floor perimeter and up the wall by 300mm, sealed with airtight tape. The Energy Saving Trust estimates this type of non-repeating thermal bridge can waste up to 15% of heating energy in an uninsulated solid-wall home. With gas heating at 7p per kWh, the household saved £210 per year on their heating bill, giving a payback period of roughly 15 years. Glazing is standard-rated for VAT at 20%. The zero rate for energy-saving materials covers insulation, heat pumps and solar panels; HMRC names secondary and double glazing as excluded (VAT Notice 708/6). Over 25 years, the total savings amounted to £5,250, making the investment worthwhile even before considering improved comfort and reduced condensation risk.
| Item | Figure |
|---|---|
| Upfront cost after grants | £3,200 |
| Yearly savings | £210 |
| Payback period | 15 years |
| 25-year lifetime savings | £5,250 |
What homeowners often get wrong
The most common mistake is assuming that simply adding more loft insulation will fix thermal bridges at the eaves. This misconception leads to three frequent errors that waste money and compromise performance.
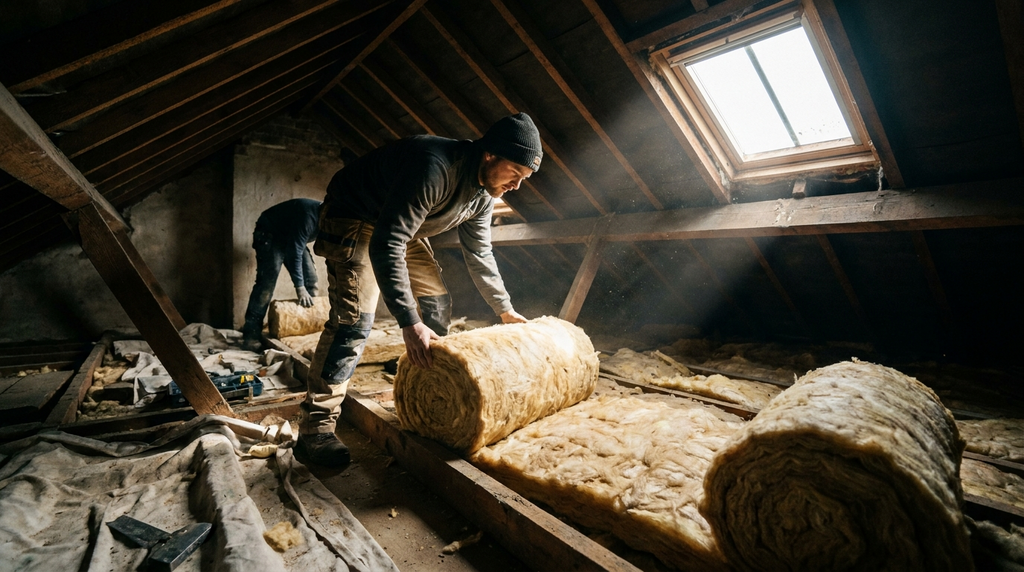
- Blocking ventilation gaps at the eaves Many homeowners push loft insulation right into the eaves to cover the wall top, thinking it seals the thermal bridge. This actually blocks the 50mm ventilation gap required by Building Regulations, causing condensation and timber rot. The right fix is to install a proprietary eave insulation system that maintains airflow while insulating the junction.
- Using spray foam around window frames People often fill gaps around windows with expanding spray foam, believing it solves the thermal bridge at the frame-to-wall junction. Spray foam can trap moisture and void window warranties if it expands too much. The correct approach is to use pre-compressed PIR frame sealant tape or a thermal break strip, which allows for movement and drains moisture.
- Ignoring party wall junctions A common oversight is failing to insulate the junction between a solid wall and an internal party wall in a semi-detached home. Many think the party wall is already warm, but the junction can create a cold bridge that causes damp patches on the internal wall. The fix requires cutting a 100mm slot in the party wall and injecting a bead of closed-cell foam or installing a thermal break pad before replastering.
Quick reference
- A thermographic survey costing £200 to £500 identifies thermal bridges invisible to the naked eye and is recommended before any fix.
- The most common thermal bridge locations are at wall-to-floor junctions, around window and door frames, and at roof eaves.
- ECO4 grants cover up to 100% of the cost for low-income households to fix thermal bridges as part of a whole-house retrofit.
- Fixing a single non-repeating thermal bridge typically saves £150 to £300 per year on heating bills in a gas-heated UK home.
- Using the wrong fix, like spray foam on window frames, can void product warranties and lead to costly moisture damage repairs.
Frequently Asked Questions
The cost varies widely, but a thermographic survey to locate the bridge costs £200–£500 (GOV.UK, 2026). Fixing it with continuous insulation can add £1,000–£5,000 depending on the area and access.
The most common thermal bridge is at the junction between a solid wall and a suspended timber floor. The Energy Saving Trust notes this is a repeating bridge where floor joists penetrate the wall, bypassing insulation.
No, you should not fix a thermal bridge yourself. The Energy Saving Trust advises that a professional thermographic survey is needed first to identify the exact location, and the fix requires proper insulation installation to be effective.