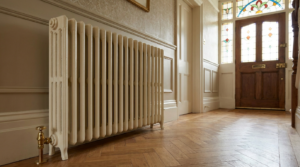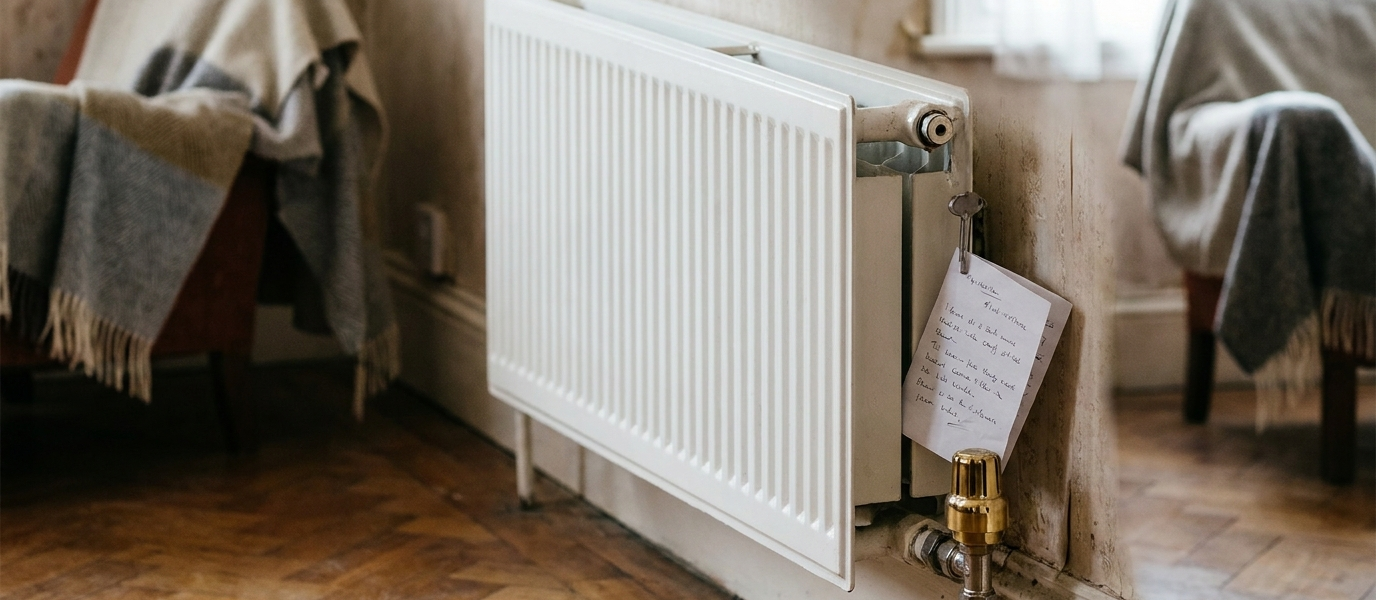
The room has never quite warmed up. You’ve turned the thermostat, waited the usual twenty minutes, and still the air carries that faint, stubborn chill. You walk over and place a hand on the radiator. The top is reassuringly hot. But as your palm slides down, the temperature drops. By the time you reach the bottom, it’s barely lukewarm, a polite, frustrating apology for heat. It’s the radiator that refuses to play fair, and it’s quietly draining the comfort from your home.
But here’s the thing: a cold-bottom radiator isn’t a broken radiator. It’s a trapped story, of air, sludge, or a valve that’s lost its nerve. And the fix is often simpler than you think. The gain is a warm, even room, and the quiet satisfaction of knowing you sorted it yourself. No call-out fee, no waiting for a plumber. Just you, a radiator key, and a little patience.
The physics of a lazy radiator
Hot water rises. Cold water sinks. That’s the simple principle that governs every radiator in your home. When a radiator is cold at the bottom, the flow is blocked or the return is trapped, the water can’t complete its circuit. It’s not a crisis; it’s a conversation between water and metal that’s gone a little quiet.
There are three usual suspects. First, air trapped at the top, which you fix by bleeding. Second, sludge settling at the bottom, which needs a flush. Third, a stuck or unbalanced valve, which requires a gentle recalibration. Each has its own symptoms, and each has a straightforward remedy. Let’s walk through them one by one.
Bleeding, the first and easiest fix
If your radiator is cold at the top and warm at the bottom, air is the culprit. But with a cold bottom, the situation is often reversed: air trapped above the water line, or a system that’s lost pressure. Either way, bleeding is where you start.
Turn off the heating. Wait for the radiator to cool, you don’t want to be sprayed with hot water. Find the bleed valve, usually at the top on one side. Use a radiator key or a flathead screwdriver, depending on the type. Turn it slowly anticlockwise. You’ll hear a hiss, that’s the air escaping. Wait until a steady trickle of water appears, then close the valve. That hiss is the sound of relief, and the warm water that follows is the room finally feeling like it’s trying.
Check your boiler pressure afterwards. It should sit between 1 and 1.5 bar when cold. If it’s dropped, top it up via the filling loop, a simple turn of a lever, and you’re back in business.
Sludge, the silent weight at the bottom
If bleeding doesn’t fix it, feel the radiator again, carefully, from top to bottom. A clear cold band at the bottom, with a warm middle and hot top, points to sludge. Over time, old pipes, corroded metal, and hard water deposits shed debris that settles at the lowest point. The radiator becomes a sediment trap.
This is a weekend job, not a professional-only task. You can flush a single radiator by isolating it, close the valves at both ends, disconnect it, and take it outside. Hose it through until the water runs clear. Or, if the whole system is sluggish, a full system flush with a chemical cleaner can work wonders. There are DIY kits available for around £30 to £60, or you can call in a professional for a power flush, typically £300 to £500 for a typical three-bedroom home.
The result is a radiator that finally works as it should: hot from top to bottom, no cold band, no quiet frustration.
Balancing, when the flow forgets its manners
Sometimes the radiator itself is clean and bled, but it’s still cold at the bottom. The culprit might be a system that’s forgotten its manners, water taking the path of least resistance, leaving the furthest radiators short-changed. You’ll notice one radiator runs hot while another runs cold, usually the one farthest from the boiler.
Balancing is the fix. It’s a patient process of opening and closing the lock-shield valves, those little plastic caps on the side of the radiator, until every radiator shares the warmth equally. You’ll need a thermometer and a screwdriver. Start with the radiator closest to the boiler, close its valve fully, then open it a quarter turn. Work your way through the house, measuring the temperature difference between the flow and return pipes. The goal is a consistent 11°C to 12°C drop across each radiator.
It sounds fiddly, but it’s satisfying. And once it’s done, every room in your home gets the heat it deserves.
The valve that won’t open
Stuck or seized valves are common, especially on older radiators or those in rooms you rarely use. The pin inside the valve head can jam, a tiny brass or steel cylinder that refuses to move. A simple test: remove the valve head (usually by hand, sometimes with a spanner) and check if the pin moves freely. A gentle tap with a screwdriver or a squirt of WD-40 can free it.
If the pin is rusted solid or the valve is leaking, it’s time for a new valve. They’re cheap, around £10 to £25 for a standard TRV, and replacing one is a straightforward job. The satisfaction of seeing that pin spring back into action is out of all proportion to the effort involved.
When the boiler is the quiet culprit
If you’ve bled, flushed, balanced, and freed every valve, but the radiator still runs cold at the bottom, the problem might be at the source. Low system pressure or a faulty pump can make radiators behave oddly, cold at the bottom, warm at the top, or just lukewarm everywhere.
Check the pressure gauge on your boiler. It should read 1 to 1.5 bar when the system is cold. If it’s lower, top it up via the filling loop. If it’s dropping repeatedly, you may have a leak, call a professional.
The pump test is next. If the pump is running but not moving water, it might be airlocked or failing. A quick bleed of the pump itself, there’s usually a small screw on the front, can sometimes solve it. If not, the pump may need replacing, which is a job for a heating engineer.
A final check, the thermostatic trick
Before you give up, check the thermostatic radiator valve (TRV). It’s a small detail, but often the one that’s overlooked. TRVs can cause a cold bottom if they’re set too low or stuck closed. Remove the TRV head, it usually unscrews by hand, and check the pin. Ensure it’s fully open during bleeding or balancing. Sometimes the valve is doing its job too well, restricting flow just enough to leave a cold patch.
Once you’ve freed the pin and set the TRV to a sensible level, say, 3 or 4 for a living room, the radiator should warm evenly. If it doesn’t, you’ve ruled out one more variable and can move on with confidence.
A cold-bottom radiator is rarely a catastrophe. It’s a conversation between water and metal that needs a little encouragement. And with a key, a screwdriver, and a bit of patience, you can bring it back to full voice.
For more on getting the most from your heating, see our guide on radiator styles and finishes and choosing the right boiler for your home.